Are you prepared for influx of feathered guests to your backyard in the coming months? Now is the perfect time to clean your birdhouses and feeders in anticipation of the great Minnesota birding get-together known as Fall Migration.
A clean feeder not only looks good, it prevents the spread of disease among backyard visitors—and entire bird populations, for that matter. A dirty bird feeder can harbor bacteria and mold. Given the choice, wild birds much prefer clean, fresh seed
to moldy seed.
Hosting the Perfect Dinner Party
Soon you’ll be the host of a great feast because migration season is well-nigh. Before dinner guests arrive you want to have clean dishes, right?
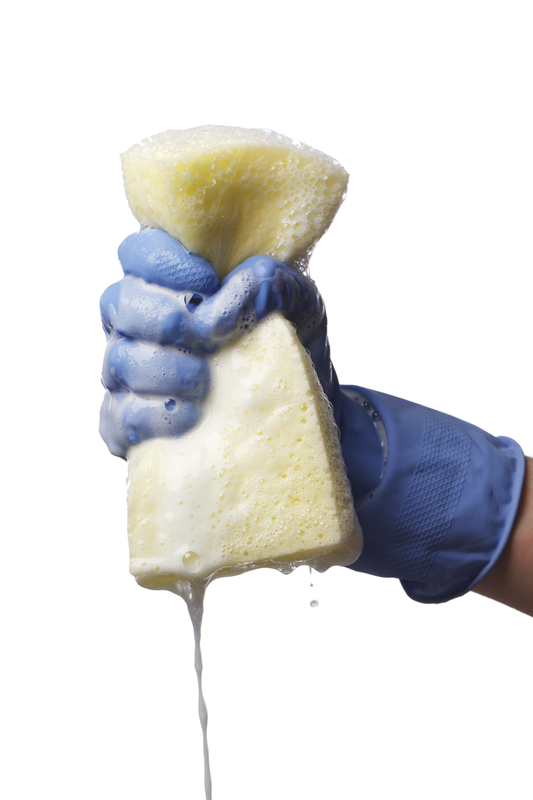
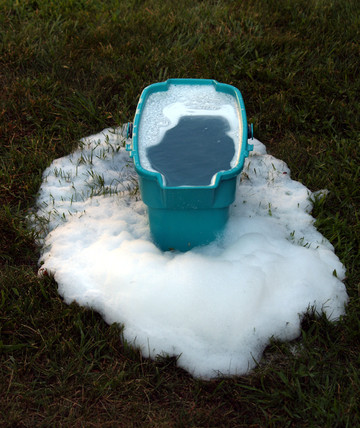
Of course! Clean all feeders inside and out, including the trays, perches, feeding ports and lids. There are several cleaning solutions suitable for feeders. For heavy-duty sanitization, use 1 part bleach to 9 parts hot water. Commercial bird feeder cleaning solutions are also available. I prefer to use unscented dish detergent to clean my feeders, as it gets the job done just fine. Using white vinegar is also a good alternative to harsh products like bleach. No matter what you use, make sure to rinse thoroughly for at least 10 seconds. There should be no lingering slime, grime or bad smells.
Now, to reach all the tight corners and small ports, use a good scrubbing tool. For tube feeders it helps to have a long-handled brush with stiff bristles. An old toothbrush is good for cleaning small parts and tight corners. A good scrub brush with stiff bristles helps in cleaning hopper feeders. Most hopper feeders have one removable Plexiglas side for easier cleaning. Be sure to clean out the feeding tray.
Allow the feeder to completely dry. Any lingering moisture can lead to mold and mildew. Once dry, refill the feeder with quality, fresh seed.
Birdhouses Need Cleaning Too
The fall is also a great time to clean and repair your birdhouses to protect them over the long winter and prepare them for spring. Dirty birdhouses can lead to rodents, insects, feather mites or fungus.
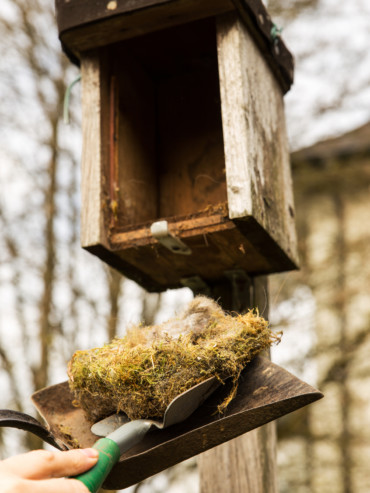 STEP 1: REMOVE NESTING MATERIAL
First, put on a good pair of work gloves and face/dust mask; then open the birdhouse. Birdhouses with swinging sides, hinged roofs or removable fronts are the easiest to clean, but you may have to partially disassemble your house(s) for best cleaning. Remove old nesting material and scrape out any clumped matter. This material should be disposed of in a plastic bag to prevent the spread
of parasites.
STEP 2: WASH AND DRY THE HOUSE
Scrub the house thoroughly with a weak bleach solution (1 part bleach to 9 parts water) or a half-and-half solution of white vinegar and water. Be sure to get all the corners, drainage and ventilation holes and the entrance hole. Rinse the house thoroughly with clean water to remove all traces of cleaning solution. Dry the house
for several hours in full sun. This will break down any remaining bleach residue and ensure that no mold or mildew will grow.
STEP 3: INSPECT AND MAINTAIN
Check the house for loose hinges or protruding nails, screws or splinters—
anything that might injure the birds. Make repairs as necessary. Oftentimes a squirrel or woodpecker may enlarge the entrance hole on wood birdhouses. This makes the house unsafe for nesting chickadees, wrens and bluebirds. Attach metal portals with the correct-sized hole to repair this problem.
STEP 4: STORE OR RE-HANG
Some people like to leave their cleaned birdhouses out for winter roosting, but beware of mice and squirrels using them.
If you leave your birdhouses out over winter, be sure to clean them again in the spring.
With the feeders sparkling and birdhouses cozy and clean, you’re in position to host a grand fall get-together. Cheers!
Article adapted from Sept/Oct 2014 Bird’s-Eye View Newsletter
Written by guest contributor MELISSA BLOCK
